Adding decorations is a long process. It will take many iterations of testing in-game until you can be sure everything is in the right place. This article describes not only the best ways to position decorations, but also ways to make decorations dynamic and interesting, and to keep processor load down.
Contents
- Guidelines for Decoration Placement
- Multiple Copies of a Decoration
- Particle Systems for Distributing Decorations
- Decorations from the Media Repository
Guidelines for Decoration Placement
Around the Starting Line
Decorations should clearly mark the starting line. This could be an arch like in Cocoa Temple, an overhead sign, or even just a checkered line. Avoid misleading the player with decorations which look like a starting line, but aren’t, as in Hacienda: The entry archway looks very much like a starting line, but actually is not.
Around Shortcuts or Alternate Routes
Shortcuts and alternate routes should be somewhat disguised, unless they are very short (e.g. two paths around an object). The village in Cocoa Temple is an excellent example of this: there are two alternate routes within the village, but they are not very noticeable unless you pay attention. Hiding alternate routes makes the player feel accomplished when he or she discovers them, and makes it more of a challenge to get the reward.
Along the Main Track
The track should not just be a boring loop with some pretty scenary on the sides. The scenery needs to integrate with the track. For example, don’t make a mountain next to the track—make it over the track, and build a tunnel. Things like this make the track more interesting and less like driving through a museum with everything behind plexiglas. (This is also why it can be difficult to build an interesting underwater track—everything really is behind glass.)
However, don’t make your track unnecessarily confusing. Integrate your track too much and it will be impossible to tell what is track and what is decorations. STK Enterprise strikes a nice balance between integration and easy drivability. If it’s harder for other people to figure out where to go in your track than in STK Enterprise, you might want to reconsider some of your decoration placements.
As Obstacles
You may put decorations directly on the track if you wish, as with the crates of TNT in Old Mine. However, when doing this, be sure that they interact with karts in a sensible way. (See Physics section.)
Multiple Copies of a Decoration
If you have one decoration that is used multiple times throughout your track and it is not from the media repository, you can save space by making it a separate object. In the SuperTuxKart Object Properties panel for each of the objects, set its type to “Object” and set the the “Name” property to the same name for each of the duplicates.
If you are using LOD for your duplicated objects (see the Level of Detail module), you do not have to worry about this.
Particle Systems for Distributing Decorations
You can use Blender’s own particle system as an easy way to randomly disperse objects. First, make sure the object you would like to distribute is set as an Object, LOD Standalone, or LOD Instance type in the SuperTuxKart Object Properties panel. If you are using an object linked from the library (see below) make sure you have made a proxy already.
Next, select the object you want the object to be distributed on. In Blender’s Properties window, in the Particles section, click the plus (+) button to add a particle system. You may want to give the particle settings a name so that you can use the settings on other objects too.
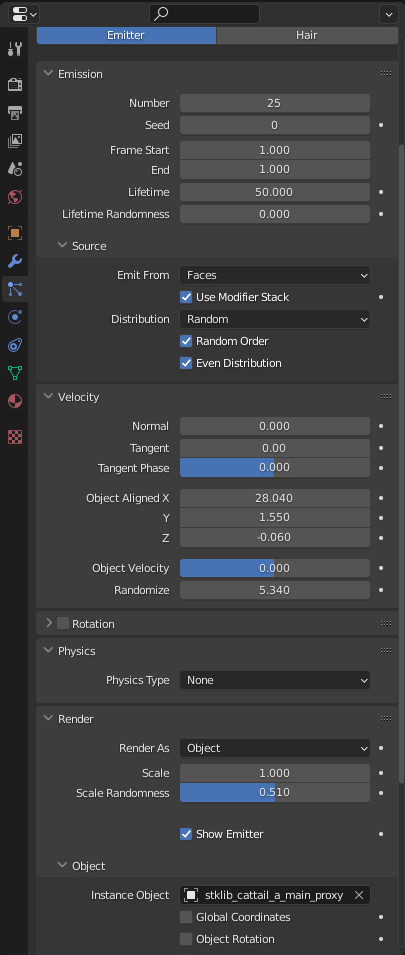
Particle system properties
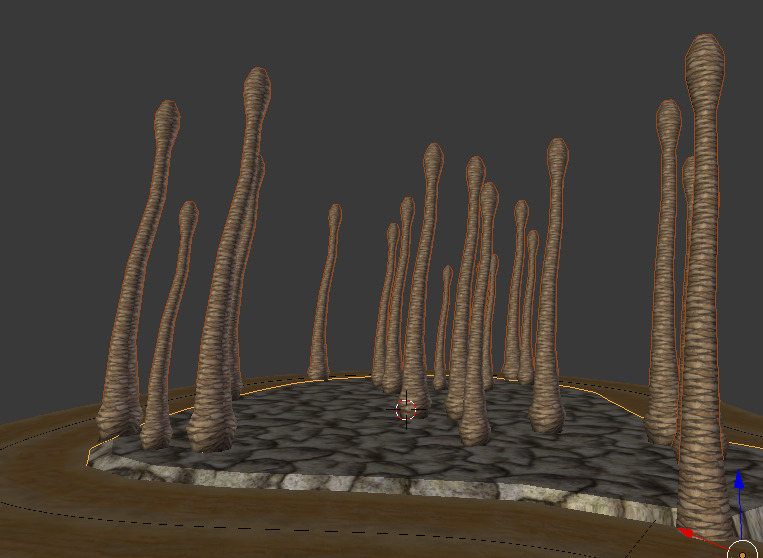
Particle system in Blender
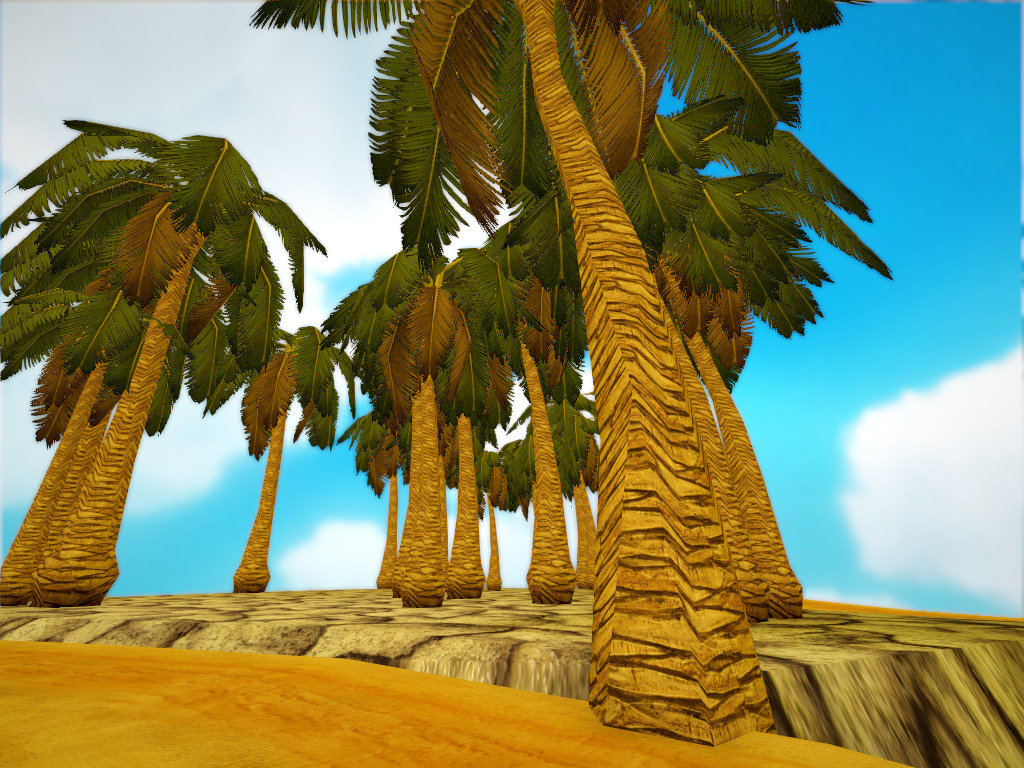
Particle system in-game
It’s best if the object the particles are being emitted from is a semi-flat surface (i.e. not a polyhedron). If is not, you’ll end up with objects being emitted all over the place where you don’t want them.
Under Emission, set the following properties:
- Number: this is the number of object that will be emitted.
- Set both “Frame Start” and “End” to 1.0.
- You may want to check “Use Modifier Stack” if you are using modifiers on the surface that will emit objects.
Under Velocity, set “Normal” to 0.0. This makes sure that objects will be upright.
Under Physics, set the following properties:
- Select “None” instead of “Newtonian.”
Under Render, set the following properties:
- Select “Object” instead of “Halo.”
- Set “Instance Object” to the name of your Object, LOD Instance, LOD Standalone, or library node proxy.
All done! Now these objects will export as part of your track!
Decorations from the Media Repository
You should use decorations from the media repository whenever possible. They can be guaranteed to to match the style of SuperTuxKart, use advanced graphical effects to ensure that they look good, and save you work, since you don’t need to make and texture all your models. If you have not already checked out the media repository, see the Media Repo page.
Stop! Does your file structure match that described on the Media Repo page? For other people to open your Blender file without errors, your track folder should be located inside the media repository!
To use a model from the media repository, in Blender, in the Info window, go to File > Link. Navigate to the library folder in the media repo, find an object, then open the .blend file. In the “Object” folder, open the object that you want. (There should usually only be one object per .blend, unless the library node uses Level of Detail.) Make it a proxy by going to Object > Make Proxy in the 3D View window header so that you can move, rotate, and scale it.
If your decorations are of high quality, you may want to consider separating them from your track and contributing them as library nodes. See the Making Library Nodes page for more information.
When you duplicate a library object in your scene, be sure to use Alt + D (link duplicate) rather than Shift + D (actual duplicate). If you use an actual duplicate, the object will no longer be linked to the library.
If your decorations are of high quality, you may want to consider separating them from your track and contributing them as library nodes. See the Making Library Nodes page for more information.
Editing Decorations from the Media Repository
Usually, objects from the media repo are good enough and can be scaled, rotated, or repositioned to fit as you need. However, if necessary, you can use File > Append instead of File > Link in the instructions above to actually import the object into your scene. This is not recommended, but you may do this under certain circumstances, if the edits you plan to make could not be put in the media repo itself.