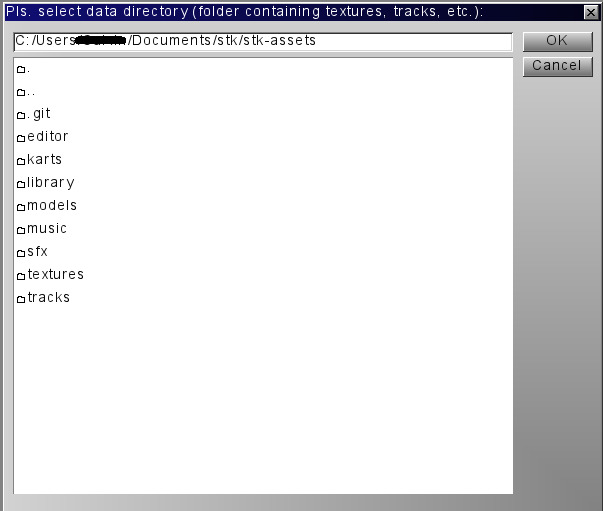
On the first start, you will see a directory selector window. Maneuver to the data directory, which contains the texture, karts, models, etc. (Double click on a directory to move in, and double click on the “..” to leave the current directory.) Once you found the right folder, hit the OK button. If it isn’t the one the editor is expected, you won’t get rid of the selector window.
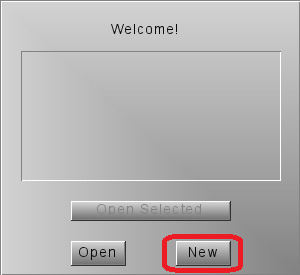
Once it is selected, be patient: the editor will load the textures, which takes some time. The next message window will be the welcome screen. It contains the recently opened track list, which is most likely empty. Just click on the new button in order to create a new track.
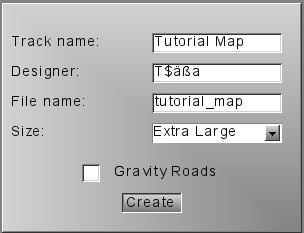
This image will show you how to fill the textboxes:
The “File Name” field should not contain any special characters. Leave the gravity checkbox unchecked for now, that affects upside-down roads for the development version. Once you are done, hit the Create button. Press and hold the “shift” key first, press and hold the middle mouse button, and move the mouse to move the camera. Do the same without holding “shift” to rotate.
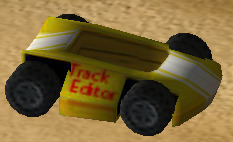
There is a small kart in the left lower corner of the screen, which changes its orientation as you rotate the camera, and become bigger as you zoom in, or smaller as you zoom out. This is an indicator, showing you how big things in the game are.
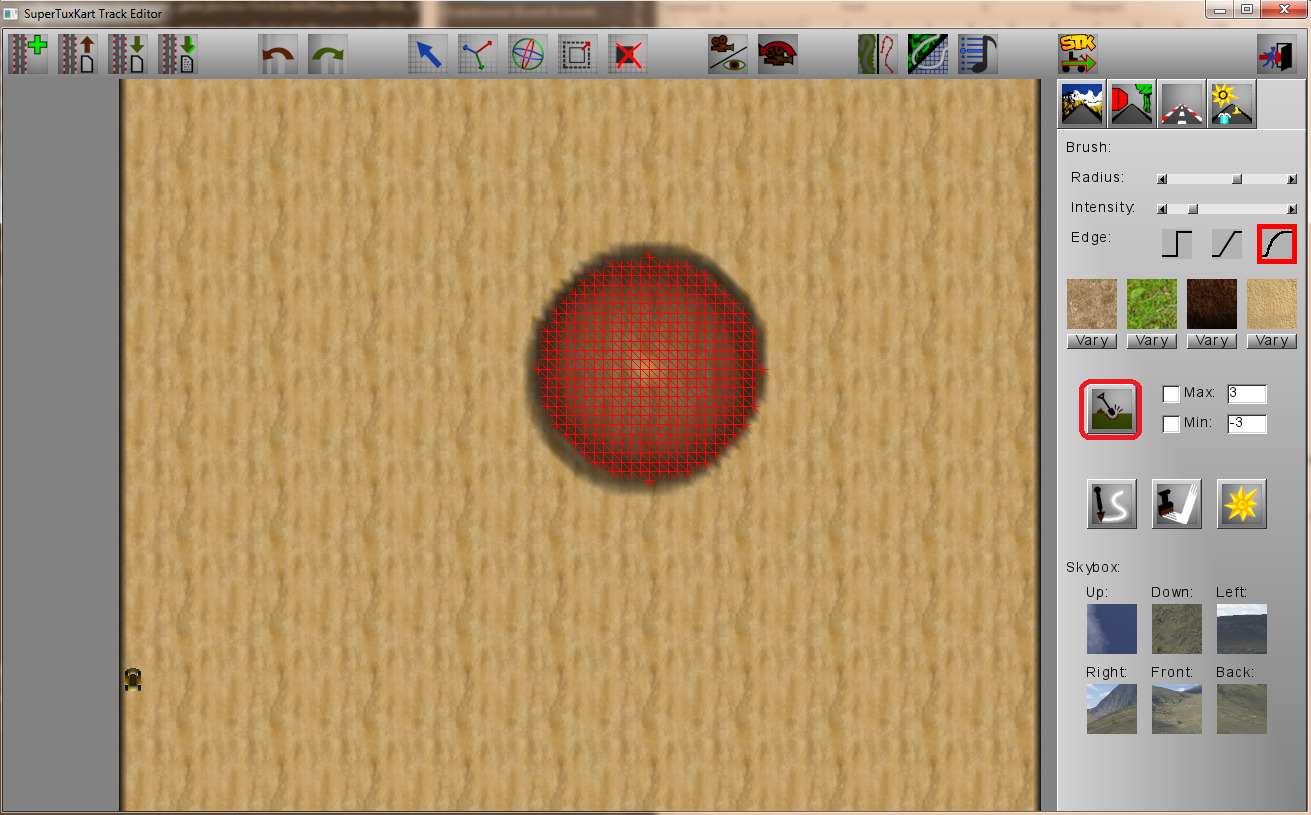
Click on the spade icon to activate the height modifier tool. Move the mouse over the terrain: the effected vertices are highlighted with red. Hold down left mouse button, and move your mouse around to draw a nice mountain. You can also decrease the highlighted vertices’ height using right mouse button in the same way.
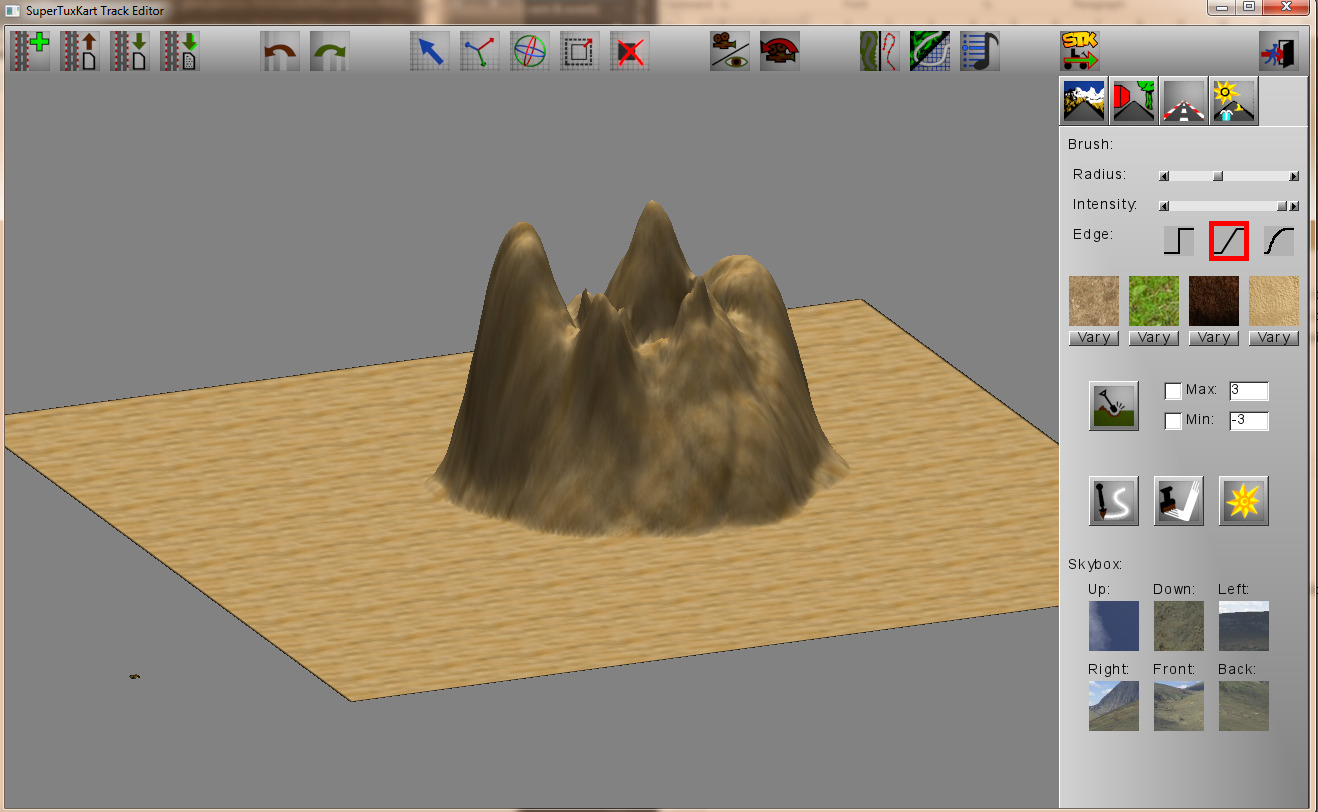
Play a little with the tool: modify the radius and the intensity of the tool with the scrollbars and switch between different edge types by clicking on the icons. You can always cancel your modification using the undo icon in the toolbar (red arrow pointing left), or with the hotkey ctrl+z. Once you are confident, create a mountain to the middle of the map. It should look similar to this:
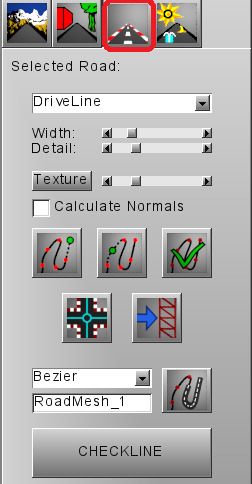
Time to define the driveline. You can do it with placing control points. Click on the third main icon in the toolbar to activate the road panel:
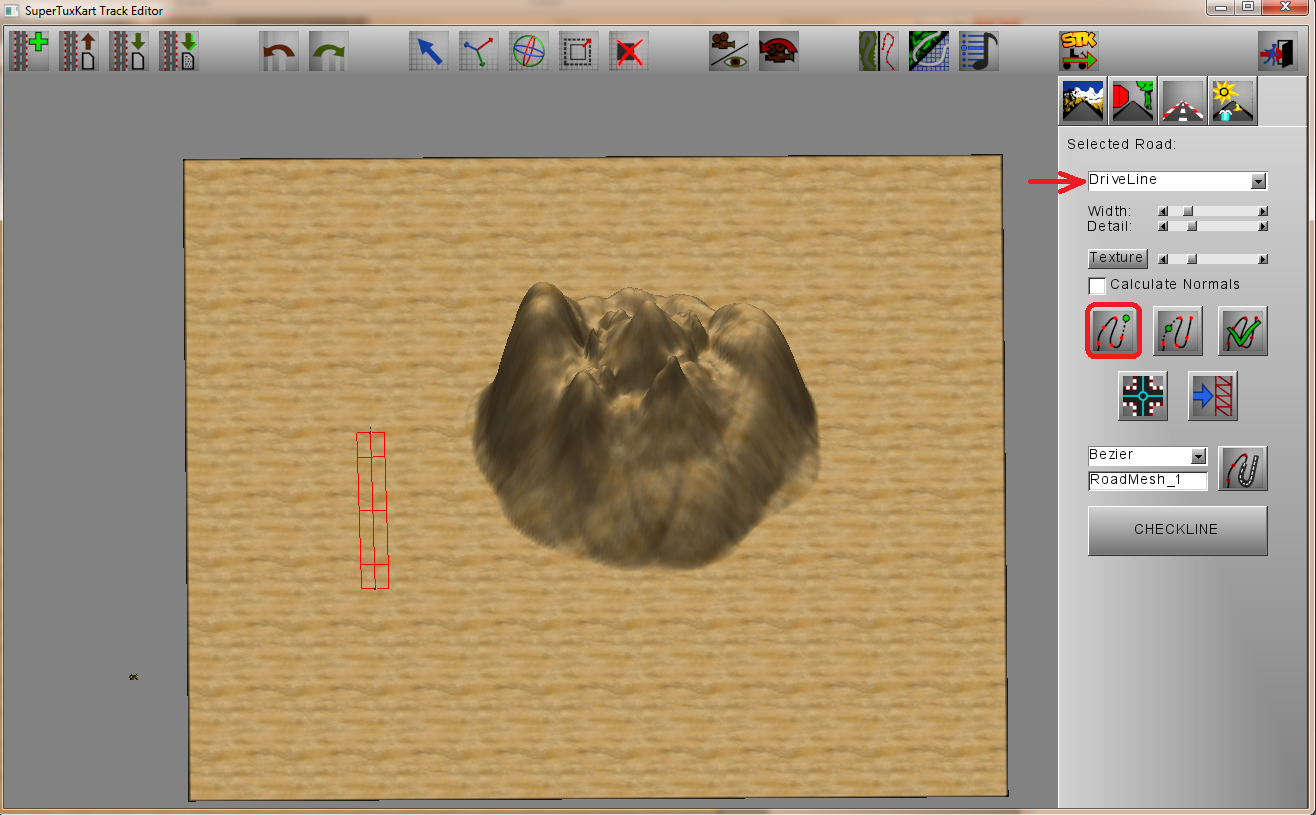
As you can see in the checkbox, the driveline is selected. Click on the highlighted icon to start drawing the driveline, then move the mouse over the terrain, and place the first control point by clicking with left mouse button. Moving the mouse after placing the first control point shows you how the driveline would look like, if you would place the second in the mouse’s current position.
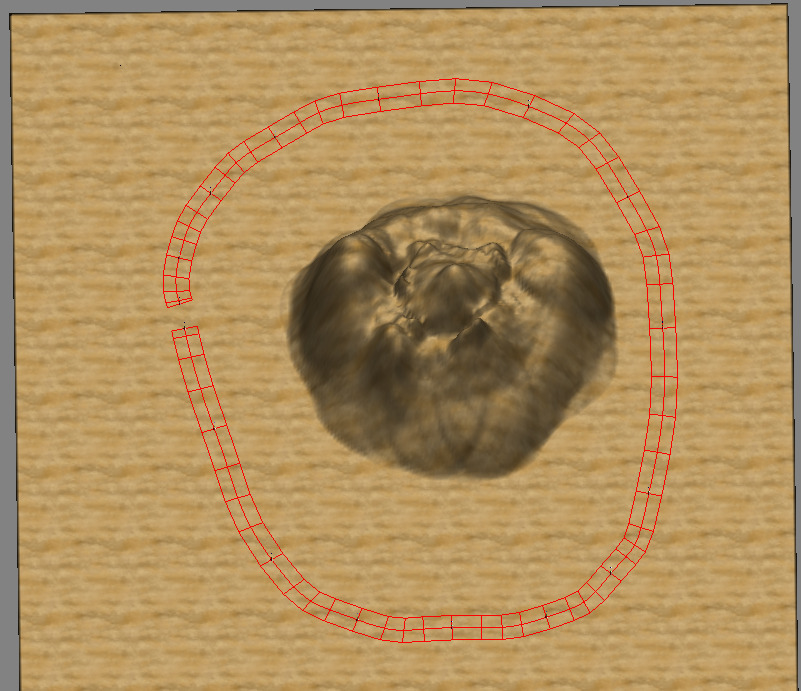
Draw the driveline around the mountain. If you misplace a point, you can use the undo button, or just leave it and move it later. Once you placed the last point click with the right mouse button to finish the process. The results should look like this:
 Save your work. Click ok on the confirmation window to close it.
 Export your work. Click ok again.
 Try the track! First time you click on this button, you have to select the game’s executable in a file select dialog window. It works pretty much like the directory selector did. If everything goes well, the game can load the track. There are a few problems however – the biggest one is the fact, that there is no lap counting. Let’s fix it first.
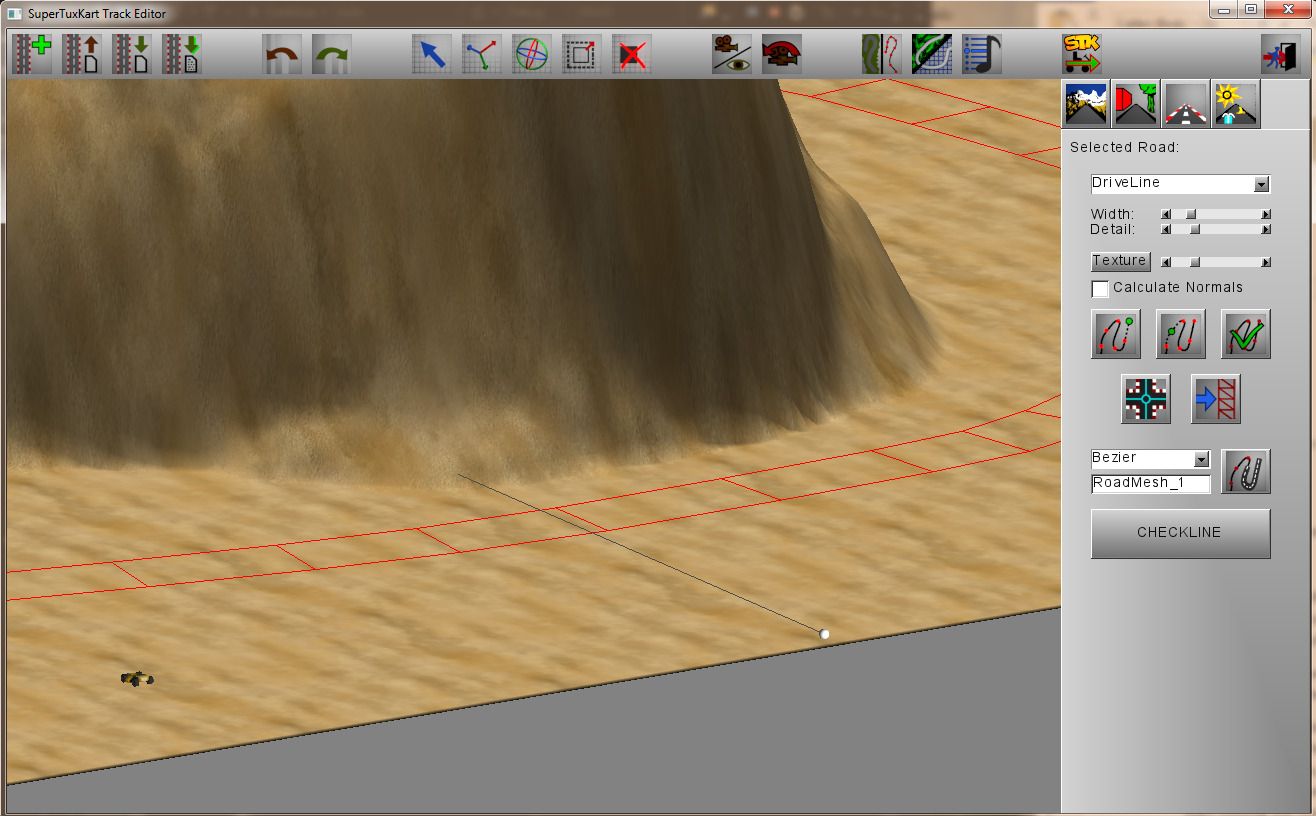
Click on the Checkline button to define a checkline. It consists of two spheres, place them both. They should be as far from the start line (which is the beginning of the driveline) as possible. Make sure, that the player will cross it for sure: maybe you have to move the spheres to do so. You can select any object by clicking on it with left mouse button. Press and hold right click, and start moving the mouse to move it. Once the object follows the mouse, you can release the button. Clicking with the mouse finishes the operation: left click accepts it, right click cancels. You may need to rotate the camera to reach the goal, which should be something like this:
Export your track again: if you placed the checkline correctly, you should be able to win the track.

